Retro-fitting Angel Wings
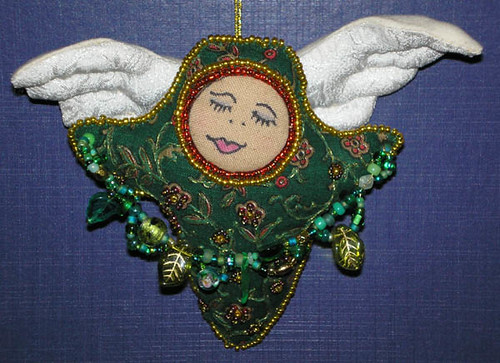
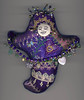
I have been busy, busy, busy. Because I have been struck by rare brilliance (says she modestly). I made this Spirit Doll a while ago, and she was supposed to find a home with someone who needed her. There is someone special she needs to go to right now, but since it is Christmas, she is going as a Christmas Angel.
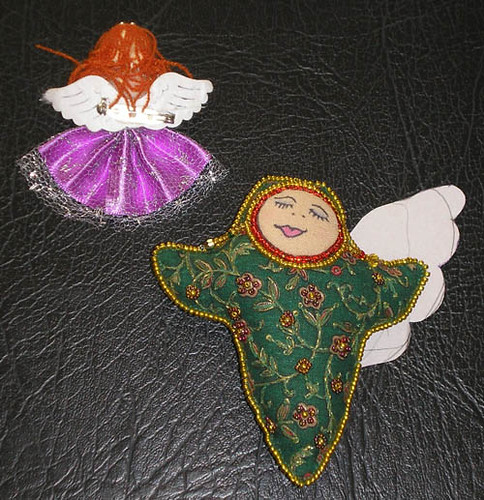
First step was to make a template for her wings. To do this, grab any handy Angel, and copy shape in right size.
Next, it is do what I say, not what you see me do.
Choose a front fabric and a backing fabric. Make a seam through the FRONT fabric, and press open, the same technique I used for making up the Tree Decorations.
Draw the double set of wings on the backing fabric, including a seam allowance.
Sandwich the front and backing fabric, so the seam is from top to bottom where the wings join. (This example was worked with the seam in the backing fabric). [Must experiment with including wire in making them up]
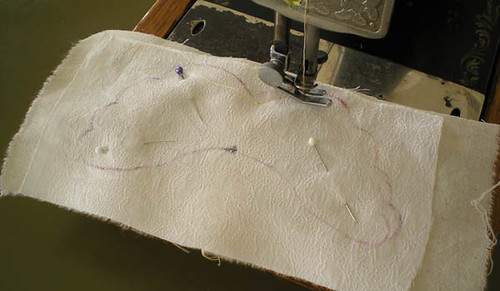
Pin and sew just inside the line you have drawn. Trim, nick the fabric along the seams so they turn well, unpick the seam between the two sides of the wings, and turn the right way out. Press.
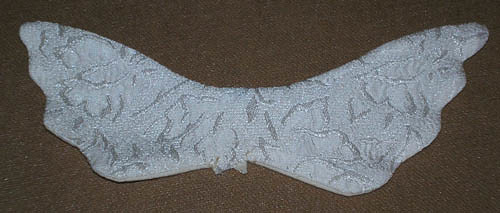
Fill with a little Dacron, using the split skewer technique, and stitch detail into the wings. Further fill out the points in the wings.
Attach wings at back - in this case, as my seam then showed, I added a line of beads down the back. If the seam had been on the front fabric, it would have been hidden by the body.
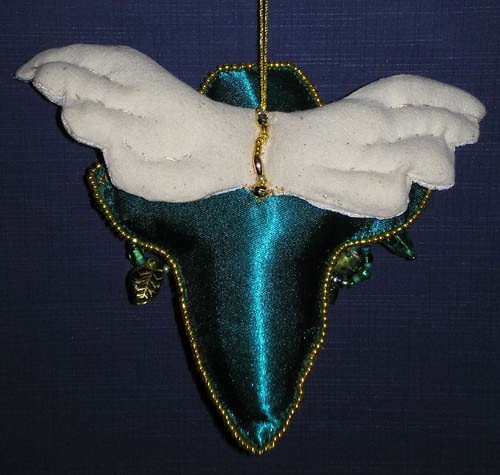
And that's it - I added a festive garland, and she is finished.
I think I like retro-fitting Spirit Dolls with Angel Wings - there are going to be a lot more next Christmas.
Now to get back to my own Tree Decoration for Christmas.
posted by Linda at 7:33 pm
![]()
![]()


1 Comments:
Oooooo! I love this idea! How fabulous those wings are!
Post a Comment
<< Home