Making up the Ornies
There was a bit of fun batch-processing the Ornies when I came to make them up. I'm never good at making things up - usually I get a piece of fabric for the backing, and just leave a little open at the side and stuff filling in through that, then stitch it closed. And it ends up looking lop-sided.
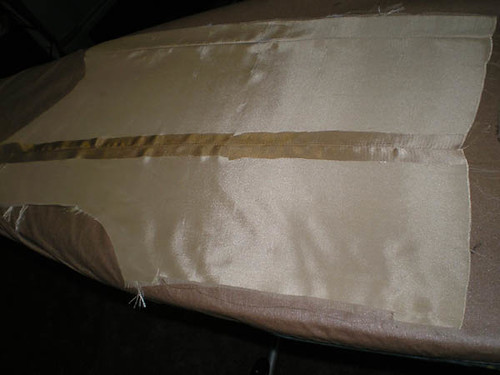
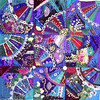
This time I got the backing fabric (which previously had a life as a blouse), folded it in half, right sides together, and ran a line of stitching down about an inch in from the fold. Then I cut it open and pressed it open. That is what you can see above.
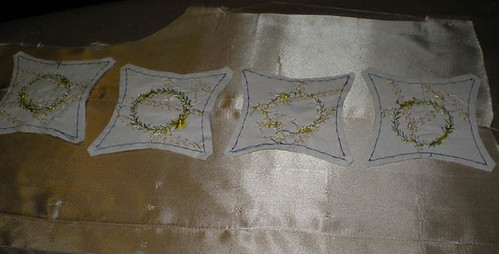
I then turned the backing over, and put the ornies onto it, so right sides were together. The seam on the backing fabric ran across the middle of the ornies, well away from the points. They were then pinned (no time for tacking), rough cut out, stitched down, then trimmed.
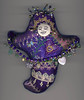
Next step - unpick the seam at the back, and turn the ornie right way out. Force the points out with the blunt end of a wooden skewer. Fill - I used Dacron.
HINT: If you use a disposable skewer, and slit it a little way on the blunt end, you can catch a little of the Dacron in the slit and spin it onto the skewer between finger and thumb. It stays attached while you force it into the points to get a firm fill. Then just hold firmly and you can pull the skewer out again.
Then, when you have enough filling inside, just slip stitch up the back.
NEXT - those jolly little bows.
posted by Linda at 6:20 pm
![]()
![]()


0 Comments:
Post a Comment
<< Home